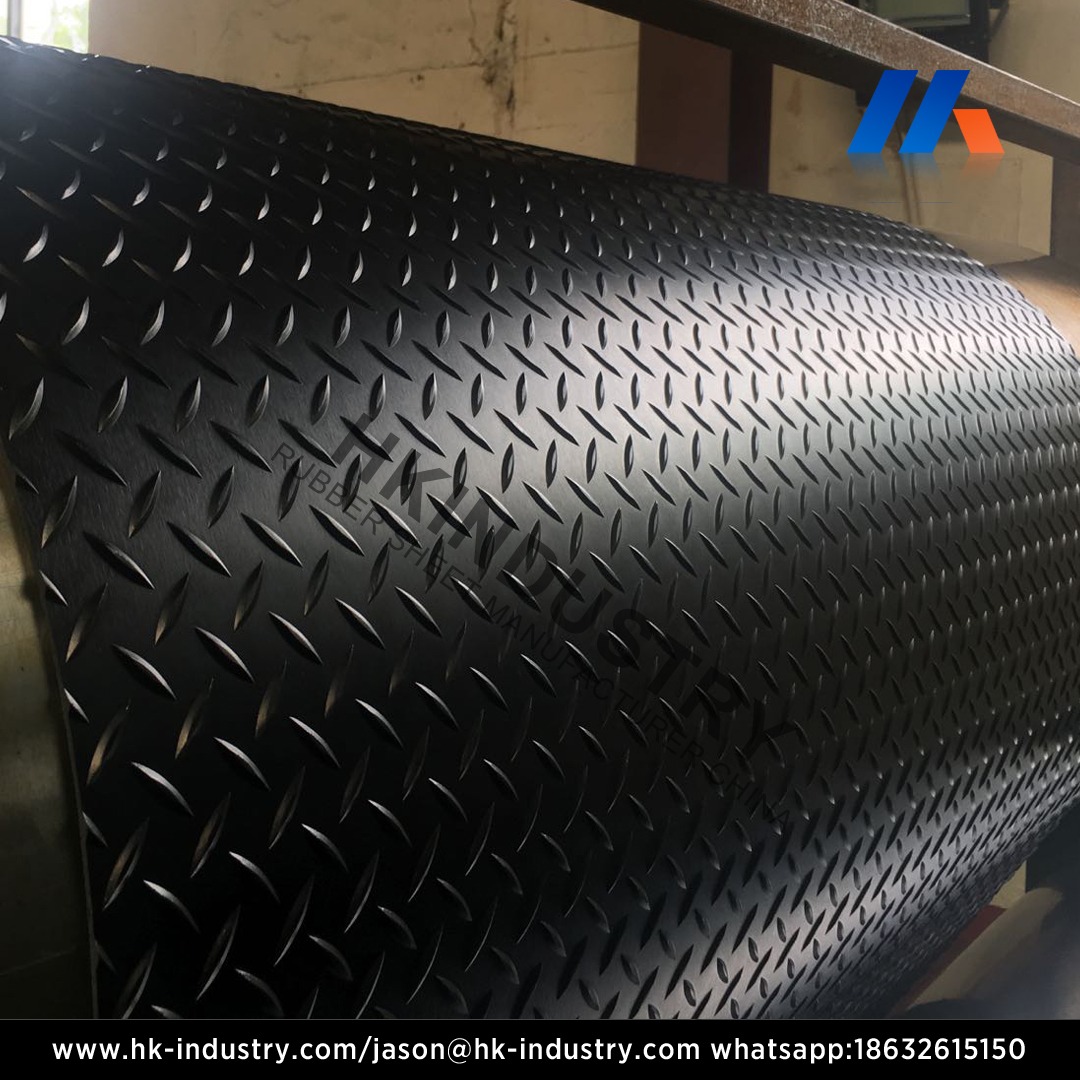
Because of its strength, adaptability, and comfort, rubber flooring has become more popular. Rubber flooring requires a good installation to ensure its long-lasting functionality and aesthetic appeal, whether you’re considering it for your home gym, a business space, or a play area. For a flawless finish during the installation of rubber flooring, we’ll provide you with some key pointers and tactics in this blog.
Proper Surface Preparation
Make sure the subfloor is clean, smooth, and free of any dirt or flaws before you start putting on rubber flooring. You might need to level the subfloor with an appropriate self-leveling product or patch any cracks and gaps, depending on the subfloor’s material (concrete, wood, or tile).
Acclimatize the Rubber Flooring
Make sure the subfloor is clean, smooth, and free of any dirt or flaws before you start putting on rubber flooring. You might need to level the subfloor with an appropriate self-leveling product or patch any cracks and gaps, depending on the subfloor’s material (concrete, wood, or tile).
Plan the Layout
Carefully arrange the flooring pattern before cutting or attaching any rubber tiles or rolls. Measure the space first, then decide where the tiles will start and stop. Walls, entrances, and other barriers that could alter the arrangement should all be taken into account. A more balanced look may be achieved by avoiding small cuts at the room’s boundaries and, if required, adjusting the beginning point.
Use the Right Adhesive
It’s important to use high-quality, moisture-resistant glue that is specially made for rubber flooring since not all adhesives are compatible with rubber materials. Apply the glue according to the manufacturer’s directions, paying close attention to the appropriate trowel size and drying period.
Use a Roller for Adhesion
To guarantee that the rubber flooring and the subfloor are properly adhered once the glue has been applied, use a heavy roller. A roller ensures that the rubber material firmly adheres to the surface and helps to remove any air pockets. For a clean, tight finish, pay close attention to the edges and corners.
Trim with Precision
Use a sharp utility knife or a specialist rubber flooring cutter for cutting rubber flooring to fit around corners, walls, or other obstructions. To prevent costly errors, always measure twice before cutting and take your time to make exact cuts. To achieve a smooth and professional-looking installation, precise and neat trimming is essential.
Properly Seal Joints and Edges
Rubber flooring’s seams and edges must be sealed in locations with high moisture levels or those that are prone to spills. This process improves the flooring’s overall longevity and prevents water intrusion. To accomplish successful sealing, use an appropriate seam sealer that the producer of rubber flooring has advised.
Allow Ample Drying Time
After the installation is finished, give the glue time to dry completely and the rubber flooring time to settle. During this time, keep the area free of heavy items and foot movement. To guarantee a good installation, adhere to the manufacturer’s instructions about the suggested drying time.
To sum up
A smooth, expertly done rubber flooring installation improves the aesthetics and functionality of the whole space. You may guarantee a good installation that leverages the advantages of rubber flooring by adhering to these crucial pointers and tactics. Your rubber flooring will endure with the proper technique, offering comfort, toughness, and aesthetic perfection for any situation.

